Toronto seems to be falling in love with Analytics recently, so it seems like a good idea to put together a quick and dirty Google Tag Manager analytics implementation guide for marketers and developers.
I’m not going to spend a lot of time explaining what, for example, an “event” is in Google Analytics; I’ll instead refer you to useful resources. I’m going to focus both of our times on knowing how to fully configure Google Analytics in Google Tag Manager.
We’ll cover:
- An Intro to Google Tag Manager
- An Intro to the Data Layer
- Why to Use Google Tag Manager & the Data Layer
- The Basics of Setting Up Google Tag Manager
- The Google Analytics Snippet in Google Tag Manager
- Analytics Pageviews in Google Tag Manager
- Analytics Events in Google Tag Manager
- Google Analytics Users & Custom Dimensions in Google Tag Manager
- Basic Google Analytics eCommerce Setup in Google Tag Manager
An Intro to Google Tag Manager
Google Tag Manager is Google’s Tag Management System (TMS). Tealium is a common alternative. Both are used to simplify the addition and management of tags on a website.
For example, a common setup for even the smallest marketing-enabled business includes adding 3-4 Google Analytics tracking tags, AdWords Remarketing and Conversion tags, and then generally two or three other codes such as Facebook, Optimizely, or maybe some fancy marketing automation or UX tools.
Generally, these are added piecemeal to the code of a website. If you asked a developer a year later which tags were currently on the site it’s unlikely that they would be able to give you a clear picture.
Enter Tag Management. Google Tag Manager (GTM) is a single tag that you add to the website. All other tags fire through GTM.
An Intro to the Data Layer
The Data Layer is a set of information that gets provided by your website to Google Tag Manager every time the two interact.
For example, I might want to tell GTM that the user is accessing my website while vital services are not working and that the user on the current page is not logged in. I could have a Data Layer that looks like the following:
dataLayer.push({
 'serviceStatus': 'Down',
 'userStatus': 'notLoggedIn'
 });
When we next interact with GTM the information in the Data Layer will be usable by any tag that we’ve configured. If we associate this information with Google Analytics custom dimensions, for example, we could view a report of the experience of users who accessed the site while our services were down or compare users who were logged in versus users who were not.
Why to Use Google Tag Manager & the Data Layer
I’m going to lead with the negatives:
- Google Tag Manager is big and scary. Kill it with fire.
- The Data Layer is big and scary. Kill it with fire.
The positives:
- Maintenance of tags becomes massively simplified.
- Tagging can move outside of web release schedules.
- Developers are required much less frequently.
- Complexities of the website cause fewer complexities of tagging.
- Data is collected once and can be shared among many tags.
- Data collection conventions are extremely easy to follow and expand on.
I also like to think that once you’ve finished this article you’ll feel that the two negatives aren’t really relevant. I couldn’t in good faith say that Google Analytics and Google Tag Manager require different training to work with, since–again–once you’ve finished reading this article you’ll be able to easily do things in GTM that you may have never even considered doing in GA alone.
The Basics of Setting Up Google Tag Manager
I’m going to assume that you don’t even have a Google Tag Manager account yet, that you’re using GTM on a website, and that you’re going to be using a single UA code within the view.
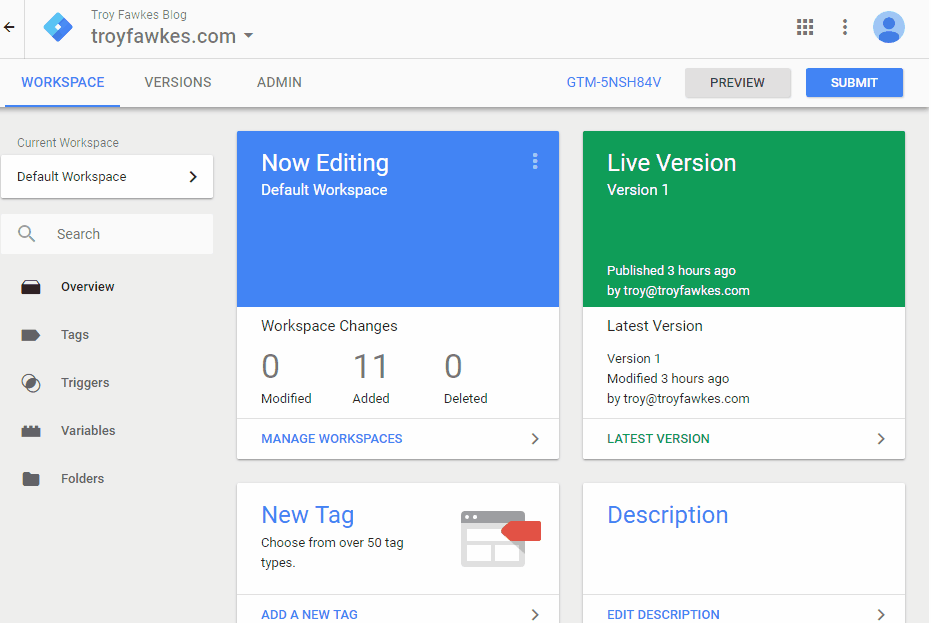
First off, head over to the tag manager page and either sign in or create a Google account. If you’ve already got an account you might see the dashboard view, which looks like this:
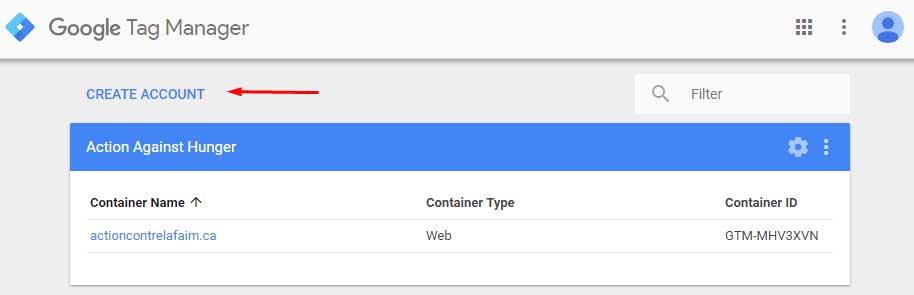
Just click on “Create Account” if that’s the case.
Next, do this:
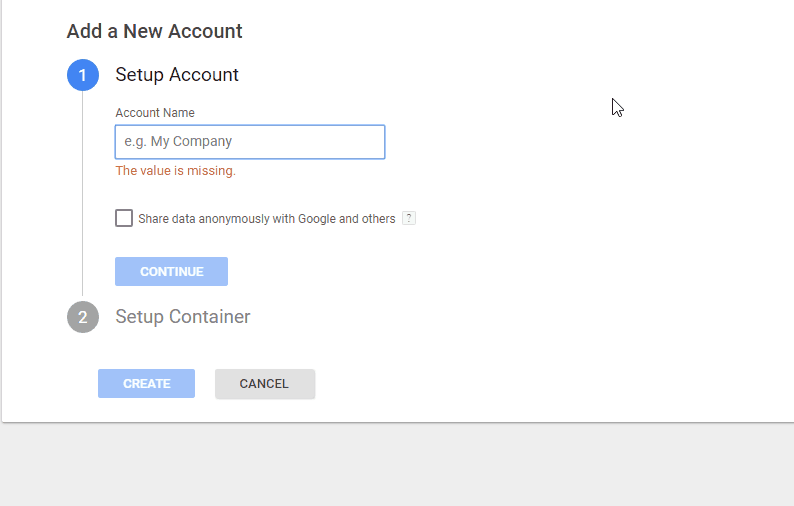
It doesn’t really matter what values you put in, though “Web” is the selection you want.
Once you’ve agreed to the terms and conditions, a popup appears with the installation instructions. Specifically, you need to install the two sections of the Google Tag Manager code snippet in separate places. Here’s some documentation.
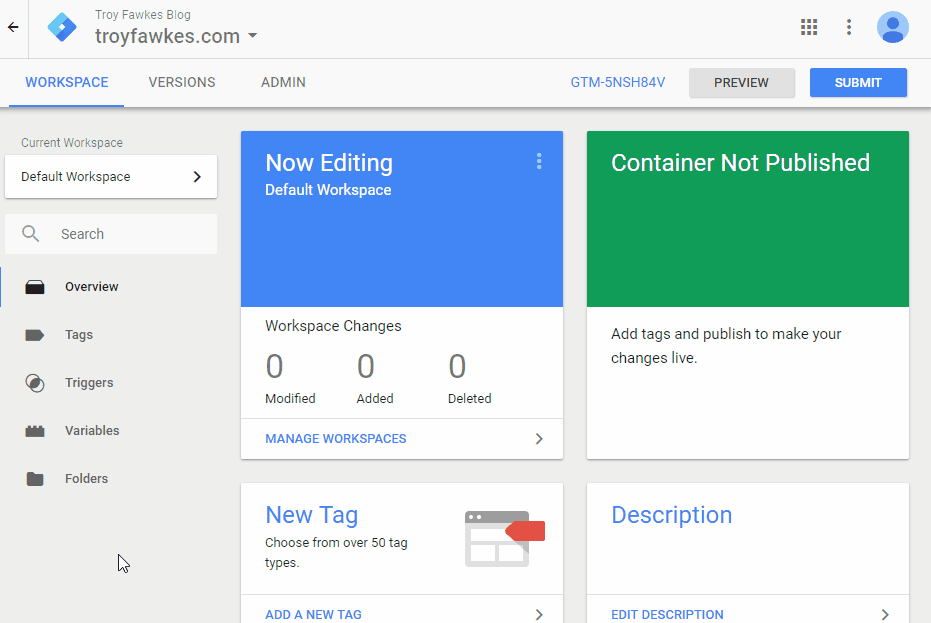
Once the snippet is correctly placed, we’re good to go.
The Google Analytics Snippet in Google Tag Manager
TLDR: This is a long-winded way to say, “you don’t have to set up the GA snippet in GTM.”
If you’re coming to GTM from GA, then you’ve been taught that GA needs to be set up via its “snippet” or “tracking code.” This thing:
<script>
 (function(i,s,o,g,r,a,m){i['GoogleAnalyticsObject']=r;i[r]=i[r]||function(){ (i[r].q=i[r].q||[]).push(arguments)},i[r].l=1*new Date();a=s.createElement(o), m=s.getElementsByTagName(o)[0];a.async=1;a.src=g;m.parentNode.insertBefore(a,m) })(window,document,'script','https://www.google-analytics.com/analytics.js','ga');

ga('create', 'UA-XXXXXXXX-X', 'auto');
 ga('send', 'pageview');
 </script>
It’s important to note that this snippet does three things.
- It adds a bunch of new functionality to your website, specifically as it relates to this “ga()” thing. If you’ve ever fired an event in GA before, you know it goes something like ga(“send”,”event”,…). Without the part of the snippet that adds functionality, you’d get an error trying to fire an event or do anything with the “ga()” function.
- It connects that functionality to a specific analytics view.
- It fires a pageview. It says, “someone has landed on this page,” and sends a bunch of data related to that page to your analytics profile.
In Google Tag Manager, we don’t need to add “the analytics snippet” anywhere. The functionality and the connection to the analytics view occur within GTM itself. Pageviews, on the other hand, we need to track explicitly.
Google Analytics Pageviews in Google Tag Manager
In the previous section I said that we’re going to need to explicitly send Pageviews in Google Tag Manager, so here we are.
I’m going to derail this article briefly to introduce you to “variables,” which we’re going to take advantage of so that we never have to remember our UA code ever again.
If you missed that:
- Click on Variables.
- Click on New.
- Name the variable UA Code.
- Choose “Constant”.
- Write in the UA Code that’s provided in Google Analytics.
- Click Save.
Next I’m going to do a combination of two things. I’m going to set up a variable that holds my entire Universal Analytics Configuration, and I’m going to fire a Pageview on all pages.
If you missed that:
- Click on Tags.
- Click on New.
- Name the tag Universal Analytics Pageview.
- Click in the Tag Configuration box.
- Select Universal Analytics.
- Select Page View in the Track Type dropdown.
- Select New Variable in the Google Analytics Settings dropdown.
- Name the variable Universal Analytics Configuration.
- Put {{UA Code}} in the Tracking ID box.
- Click Save.
- Click in the Triggering box.
- Select All Pages.
- Click Save.
I’ll get into a bit more detail about Triggers later, but for now I hope it’s fairly obvious. “All Pages” will trigger “Universal Analytics Pageview.” Basically, we’re sending a pageview every time a page is loaded, just like the standard GA snippet does.
If you don’t use Events, Custom Dimensions, Custom Metrics or eCommerce (which is entirely possible), you’ve now got a complete Google Analytics setup in Google Tag Manager. Congrats!
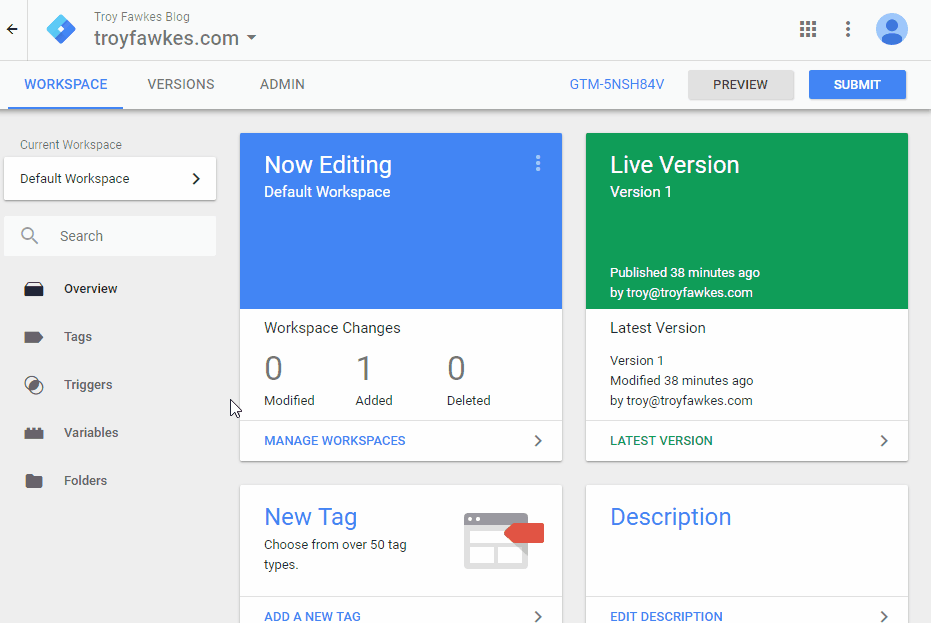
Before moving on you need to know that Google Tag Manager doesn’t make changes instantly to your website. You have to submit your changes. This also allows you to revert back to previous versions if ever you make a mistake. After every step in this tutorial, feel free to publish your changes.
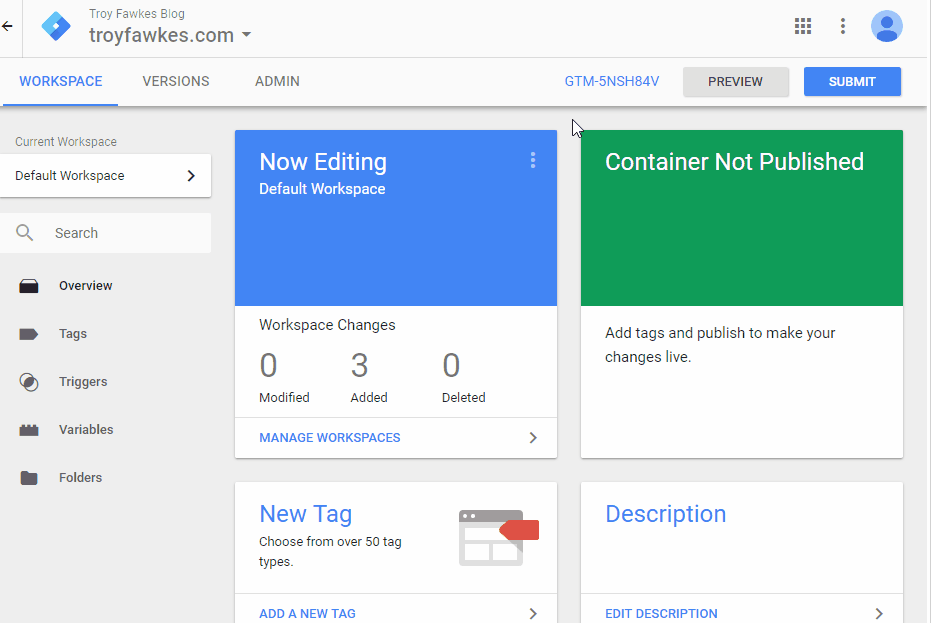
If you missed that:
- Click Submit.
- Name the changes “Pageviews Configured.”
- Click Publish.
Google Analytics Events in Google Tag Manager
The next analytics task that businesses usually complete in Google Analytics is the firing of events. I’m going to show you two ways to do this, from the simplest to the most complex. Each way is effective, but in learning both we’ve got an opportunity to discover some Google Tag Manager trickery. Starting with Triggers.
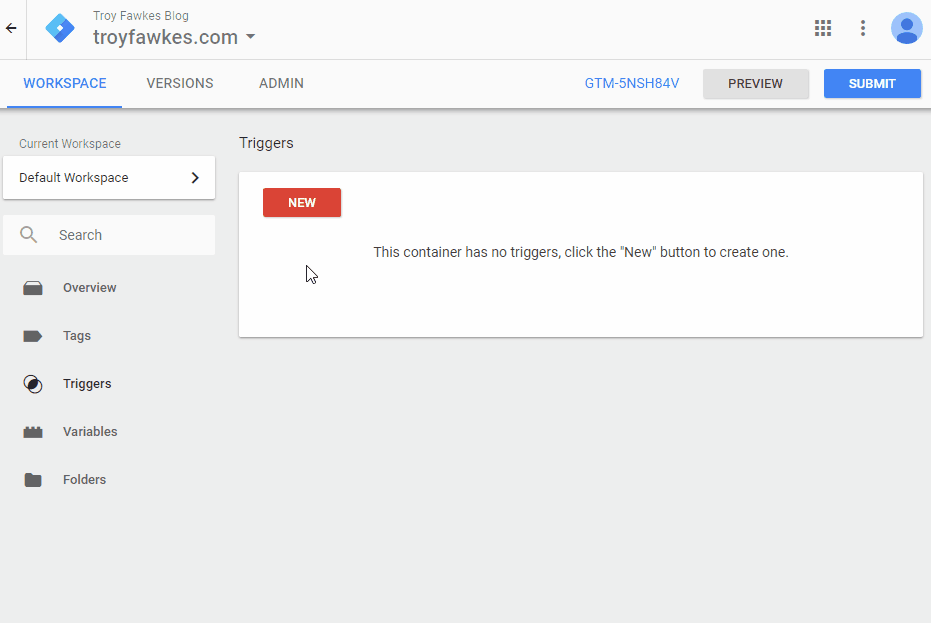
What are Google Tag Manager Triggers?
Pretty much everything in GTM fits into three major categories:
- Tags, which are the things that happen, like a pageview being fired, or Optimizely being loaded.
- Triggers, which are the scenarios in which a tag might fire, like a page being loaded or an event occurring on a web page.
- Variables, which are pieces of information that we store in GTM until we need to refer to them elsewhere, like our UA Code variable that we set up earlier.
An example of a trigger is when an event is fired on the website, so it fits nicely as part of our simplest form of event tracking. Let’s set up a really simple trigger.
If you missed that:
- Click Triggers.
- Click New.
- Name the Trigger “contact-form-trigger.”
- Click in the Trigger Configuration box.
- Select Custom Event.
- Add “contact-form-trigger” in the Event Name text box.
- Click Save.
This trigger will fire any time an event called “contact-form-trigger” is sent to GTM. But how do we send events to GTM?
That’s a good question!
How to Send Events Using the Data Layer in Google Tag Manager
Once you’ve set up Google Tag Manager, all events are sent to it through the Data Layer. This might sound scary, so instead of talking too much about it I’m going to show you the code that fires an event in GTM.
<script>
 dataLayer.push({'event':'contact-form-trigger'});
</script>
NB: This code (and all event code I discuss hereafter) absolutely must be included after the GTM snippet.
Remember that ga(‘send’,’event’, …) kind of code? This should look fairly similar. And it is. It’s just a lot more powerful now.
Let me take a brief moment to speak with the developers out there. When you load the GTM snippet, it overloads the push method on the dataLayer object. It listens for an “event” key being added. If an event key is added with any value, it will send the current state of the dataLayer object to Google Tag Manager. Contrary to how it appears, this code isn’t just adding an item to the object, it is actually sending information to the GTM service.
Uh… OK, back to everyone.
Now we’re sending an event to GTM called “contact-form-trigger” and we’ve got a trigger set up that fires any time GTM gets an event called “contact-form-trigger.” Unfortunately we’re not firing anything. And we’re starting to realize that Triggers fire Tags, so we should poke around our tags.
Let’s set that tag up really quickly:
If you missed that:
- Click on Tags.
- Click New.
- Name the tag, “UA Simplest Event.”
- Click in the Tag Configuration box and selected Universal Analytics.
- Change the Track Type to Event.
- Write out a Category, Action and Label for the event.
- Change the Google Analytics Settings to the variable we had set up before.
- Click in the Triggering box.
- Select the ‘contact-form-trigger’.
- Click Save.
Once we’ve Published this version of our container, we’ll have a working Analytics event. Hopefully it’s not quite as scary anymore. The whole process was:
- Add the dataLayer.push code to the website.
- Create a Custom Event Trigger in GTM.
- Create an Event, Universal Analytics Tag in GTM.
Now, you might be thinking that this seems kind of limiting. You want to be able to send different Category, Action, Label or Value information every time you send an event. You’re also very lazy, and having a three step process seems silly when you could have a one step process.
Enter the complicated way of setting up events in GTM.
Here’s what we’re going to accomplish during this process:
- We’ll change our event code up on the website to support all of the GA event values such as Category, Action, etc.
- We’ll store those values in GTM as Data Layer Variables.
- We’ll set up a trigger that fires any time our event is sent.
- We’ll set up a tag that fires on the trigger and sends in our custom variables.
Let’s start by getting a bit of a better understanding of the Data Layer. When we sent our event, we did this:
dataLayer.push({'event':'contact-form-trigger'});
If you’re looking closely, the colon between “event” and “contact-form-trigger” is a form of association. The “event” that we’re firing is “contact-form-trigger.” We call associations like this “key-value pairs,” because on the left is the key, and on the right is the value.
The same relationship exists for Categories, Actions, Labels and Values for GA Events, where we could say that the category has a value of “Contact Form,” for example. In the Data Layer, we’d write out this relationship like so:
dataLayer.push({
 'eventCategory':'Contact Form',
 'eventAction':'Submit',
 'eventLabel':'Go',
 'eventValue':10
 });
These are Data Layer Variables, where the Key is “eventCategory” etc, and the values are on the right of the colons. You could feasibly change the values within this to whatever you wanted. However, there are a number of caveats:
- Google Analytics expects the “eventValue” to always be a number, which means you would never want to wrap it with either ” or “”.
- Due to the nature of the dataLayer, you absolutely never want to leave a variable empty, or leave it out as you might in the ga(‘send’,’event’, …) style. If you don’t want to pass in eventLabel and eventValue, for example, you need to set them to undefined (with no ” or “”):
dataLayer.push({
 'eventCategory':'Contact Form',
 'eventAction':'Submit',
 'eventLabel':undefined,
 'eventValue':undefined
 });
- Finally, in order for this information to actually get sent to GTM, we need to include the magic “event” key. If you leave it out completely, the data we’re adding to the Data Layer will never actually be read by GTM. So, our final code should look like this:
dataLayer.push({
 'event':'genericEvent',
 'eventCategory':'Contact Form',
 'eventAction':'Submit',
 'eventLabel':undefined,
 'eventValue':undefined
 });
I’ve used “genericEvent” as my value. Keep that in mind.
Next we need to learn about capturing Data Layer variables in Google Tag Manager.
If you missed that:
- Click Variables.
- Click New.
- Name the variable “eventCategory.”
- Click in the Variable Configuration box.
- Select Data Layer Variable.
- Put “eventCategory” into the Data Layer Variable Name text box.
- Click Save.
NB: Repeat this step for:
- eventAction
- eventLabel
- eventValue
You’ve seen variables used before. Remember the UA Code variable? We configured it, and when we needed to use it we referred to it by wrapping it in double curly braces, like this: {{UA Code}}.
We can now do the same thing with all of these variables.
But first, let’s set up a trigger to watch for our event, which was called “genericEvent.”

If you missed that:
- Click on Triggers.
- Click New.
- Name the trigger “genericEvent.”
- Click in the Trigger Configuration box.
- Select Custom Event.
- Put “genericEvent” in the Event name field.
- Click Save.
Now we’ve got the code, the variables and the trigger. All we need is the tag.

If you missed that:
- Click on Tags.
- Click New.
- Name the tag “UA Generic Event.”
- Click in the Tag Configuration box.
- Select Universal Analytics.
- Change the Track Type to Event.
- Fill in the Category to Value boxes with the associated variables, e.g. {{eventCategory}}.
- Change the Google Analytics Settings to Universal Analytics Configuration.
- Click in the Triggering box.
- Select the genericEvent trigger.
- Click Save.
Remember to publish your container.
OK so let’s go over what we did.
- We changed up our data layer to record all of GA event values.
- We recorded them as variables in GTM.
- We created a trigger that fires when our event is sent.
- We created a tag that sends all of our event variables to GA.
If you’ve gotten this far, you’re likely as far as you need to be and I’m about to lose you. If you appreciated this and would like to give back, I’d very very much appreciate it if you could share a link to this article on your next resource list, blog post or email list!
Google Analytics Users & Custom Dimensions in Google Tag Manager
Setting Users & Custom Dimensions in GTM is very similar to how we set Events. However, I’m going to make one small change to how we set it up in order to show you one other aspect of Google Tag Manager.
Let’s pretend that we’ve got a logged in user. We’ve got a unique identifier for them in our database and we know that they’re a Super User. Our Data Layer might look like this:
dataLayer.push({
 'userId':'asdlkjh-239as-asd92',
 'userType':'Super User'
 });
Note that the “event” key isn’t included in this declaration. That’s because we’re going to do something slightly different here. Remember how I said that we absoutely must include our dataLayer code after the GTM tag? In this case, we want to include our code before the GTM tag. This makes the information within the Data Layer visible to Google Tag Manager right away, as opposed to requiring us to fire any kind of special event.
However, when we do this it’s best practice to add a special piece of code to make sure we don’t break anything accidentally. Our final code will end up looking like this:
<script>
 var dataLayer = window.dataLayer = window.dataLayer || [];
 dataLayer.push({
 'userId':'asdlkjh-239as-asd92',
 'userType':'Super User'
 });
 </script>
In Google Analytics, I’ll leave it as an exercise to the reader to set up the User Type custom dimension (in Index 1), and enable User functionality.
I’ll also leave it as an exercise to the reader to set up Data Layer Variables for both userId and userType, since you should already be fairly capable in that sense now.
But let’s set up the trigger together. What we need to do here is fire a trigger any time a page loads and both our userId and userType variables (which the reader has gone and done already… right?) have values. A quick little regular expression that checks for anything at least once is “.+” so we’re going to use that.

If you missed that:
- Click on Triggers.
- Click New.
- Name the trigger “UserId and UserType.”
- Click in the Trigger Configuration box.
- Select Page View.
- Select Some Page Views.
- Select userId.
- Add another row and select userType.
- Select Matches Regex in both boxes.
- Put “.+” in both boxes. NB: This is not “.*”
- Click Save.
This trigger will fire whenever both of these variables are present and not empty.
Next we need to set our userId and send our custom dimension data to Google Analytics. There are a couple of ways to do this, but the approach we’re using here is the simplest. We’ll need to send our values along with an event, otherwise it won’t work in GA.
We’ll also need to override our Universal Analytics Configuration variable, which sounds really complicated, but it basically allows us to keep using that UA Code but also add in our new fancy features. Let’s set up the tag together:
If you missed that:
- Click on Tags.
- Click New.
- Click in the Tag Configuration box.
- Select Universal Analytics.
- Select Event from the Track Type dropdown.
- Fill in some userful event values.
- Select True from the Non-interaction hit dropdown.
- Select Universal Analytics Configuration from the Google Analytics Settings dropdown.
- Check the Enable overriding settings in this tag
- Expand More Settings.
- Expand Fields to Set.
- Click Add Field
- Fill in the Field Name with “userId” and the Value with “{{userId}}”
- Expand Custom Dimensions.
- Click Add Custom Dimension.
- Fill in the Index with 1 and the Value with “{{userType}}”
- Click in the Triggering box.
- Select the UserId and UserType trigger.
- Click Save.
Hopefully this is all starting to come together!
Basic Google Analytics eCommerce Setup in Google Tag Manager
If you’re already comfortable setting up eCommerce configurations in Google Analytics-only, you might be panicking about how many variables you might need to set up in Google Tag Manager. Do you need to have a transactionId variable? How about a transactionTotal variable? Oh god.
Don’t panic.
Google Tag Manager drastically simplifies eCommerce setups compared to how we’ve set up our event tracking. I’m going to provide an example, but you may need to modify this to reflect your products and transaction requirements. This is the code we’d send Google Tag Manager:
dataLayer.push({
 'transactionId': '2901kljs',
 'transactionTotal': 201.23,
 'transactionTax': 12.18,
 'transactionProducts': [{
 'sku': 'sk-2918',
 'name': 'Bicycle',
 'category': 'Toys',
 'price': 187.22,
 'quantity': 1
 }],
 'event': 'eCommercePush'
 });
In Google Tag Manager, I’m going to leave it as an exercise to the reader to set up a trigger on the Custom Event of “eCommercePush” and I’ll provide an example of the Tag below.

If you missed that:
- Click on Tags.
- Click New.
- Name the tag “UA eCommerce.”
- Click in the Tag Configuration box.
- Select Universal Analytics.
- Select Transaction from the Track Type dropdown.
- Select Universal Analytics Configuration from the Google Analytics Settings dropdown.
- Click in the Trigger box.
- Select eCommerce Push.
- Click Save.
That was a hell of a lot easier than the Events setup, wasn’t it? I wonder when Google will put together a simpler way to send generic events through tag manager.
Wrapping Up
There’s always more to learn, but the information, skills and experience you’ve gotten from going through the few exercises in this article put you way ahead of most GTM and even GA implementation specialists.
Great article Troy! Very well explained and provides an easy resource for me to share with developers who want to learn more about why I’m sending them these GTM instructions :)
Great article! Well illustrated, and you get straight to the point.